If you are interested in stitching, one of the first tasks you might be given is stitching suspender buttons to dress pants. This is one of the simplest tasks in a costume shop, but it also requires more measurements than you would imagine getting the placement just right.
An easy way to spot a novice stitcher is to observe their technique when they are applying suspender buttons.
In this article, we will break down the basics of how to achieve the perfect placement for suspender buttons on a pair of men’s trousers. Once you learn these basics, you will be able to carry them with you for the rest of your career for perfect suspender button placement every time.
Read Also:
Most Important Tools for Basic Hand Sewing
What Is a Suspender Button?
A suspender button is a specific type of button that is used to fasten suspenders to a pair of pants.
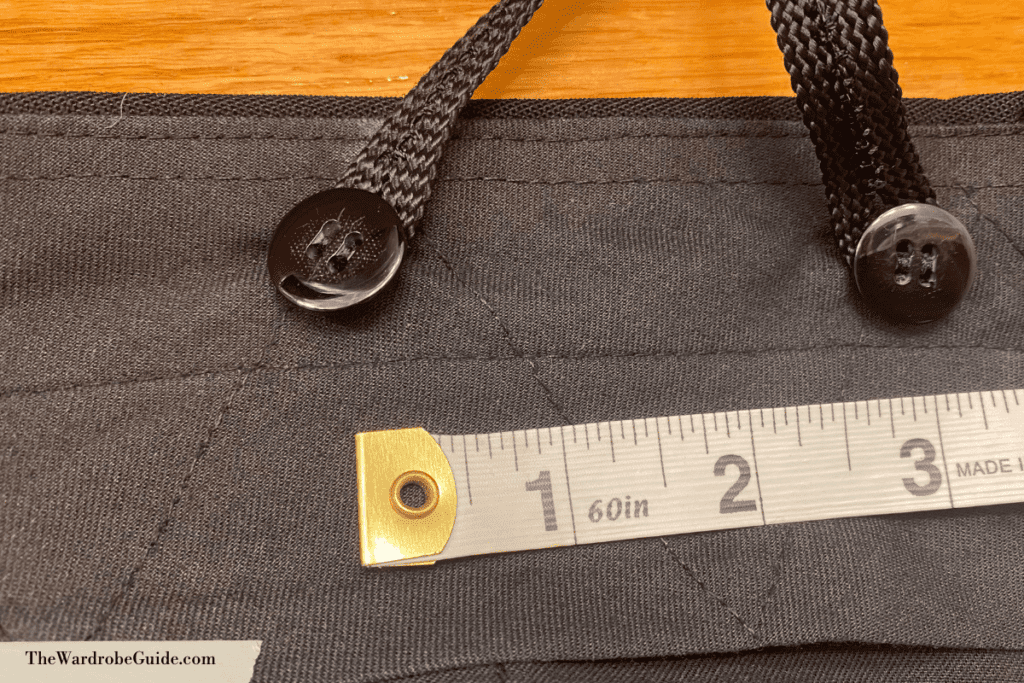
These medium-sized plastic buttons can typically be found in three different colors- Black, White, or Beige. They are specialty buttons that are only used for suspenders– not for closures.
The size of these buttons is important because the button has to be the correct size to be able to slide the suspender’s connectors to, but not so small that the suspender’s connector will slide off the pants.
What Makes Suspender Buttons Different Form Other Buttons?
Suspender buttons have a fairly distinct shape- one side is flat, and may have small grooves between the button holes. The other side of the button is more rounded– so it does not sit flat.
Their shape is to make it easy to slide the suspenders onto the button. If there are grooves, they create a neat ditch for your thread to sit in when the button is stitched on.
How Do I Pick the Correct Suspender Buttons for a Project?
When deciding the right color for your suspender buttons, refer to the color of the inside of the waistband of the pants. If the pants are black, but the inner waistband is white, it might make sense to use white suspender buttons for your project. However, if you have a limited selection of colors for your suspender button project, don’t fret! The audience will never see these buttons, so it isn’t a big deal if they aren’t the perfect color. With suspender buttons, the function is the most important goal.
Where Do I Attach the Suspender Buttons?
Unless otherwise informed by a designer or a shop manager, you are typically safe to assume that the suspender buttons will be added to the inside of the pant’s waistband. If the designer wants them on the outside of the pants, the buttons then become a part of the design. If this is the case, the designer will pick out a specially designed pair of buttons for those specific pants. This is because, with shows set in certain historical periods, it would not be accurate for a man to have buttons made out of plastic on his pants!
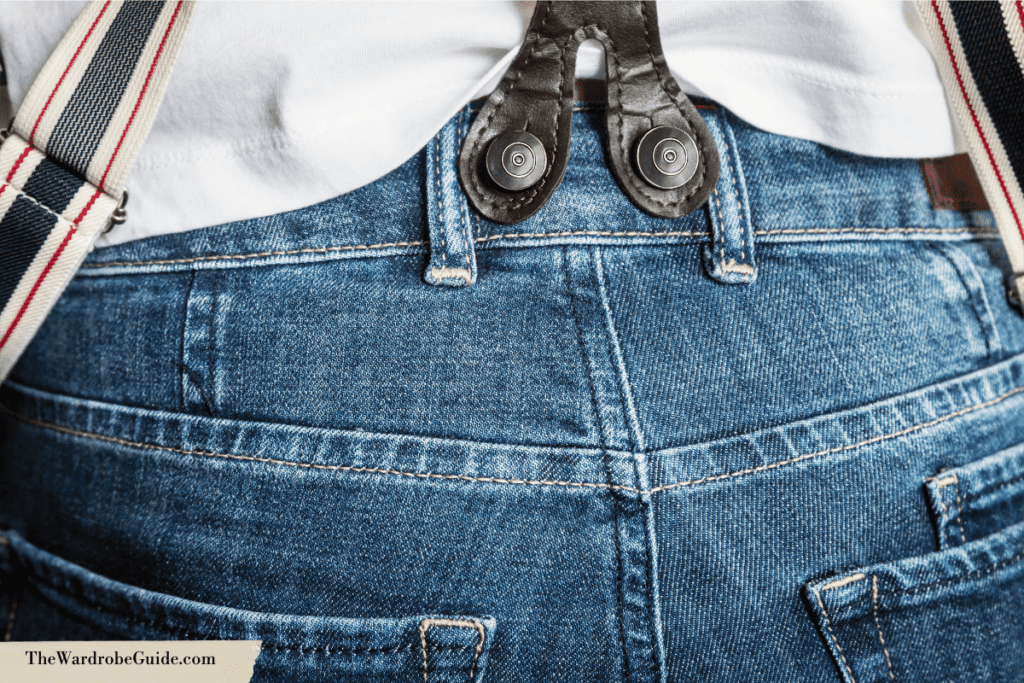
When measuring the placement of your buttons, aim for the buttons to be added to the midpoint of the waistband. If they are too high, they can force the waistband to flip out and not sit flat when worn.
How to Measure Placement for Suspender Buttons?
A set of suspender buttons includes 6 buttons; one button for each hole at the ends of your suspenders. The last thing you want is for your suspender buttons to be placed too far apart or too close together. Poor placement of your buttons will immediately cheapen the look of your dress pants.
First, let’s start with the center back buttons. These two buttons are the most straightforward placement. First, you want to find the center back seam on the pants. The suspender buttons should split that seam. This will ensure they are placed evenly on the center back of your pants.
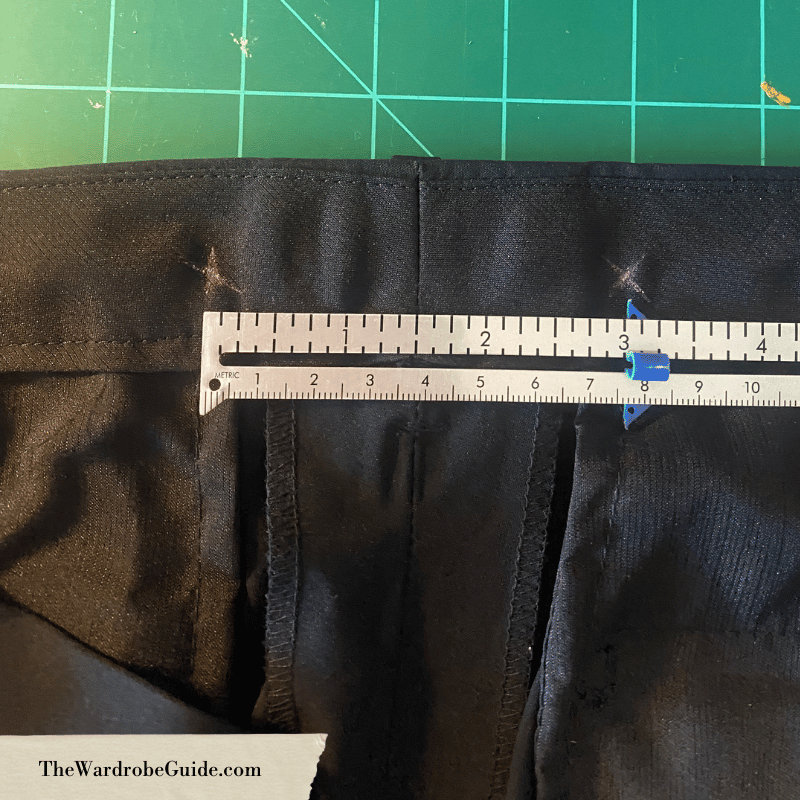
A good rule of thumb for suspender buttons is to place them 3” apart from each other. Therefore, for the center back pair, each button should be placed 1.5” from the center back seam.
If you are working with a pair of notched dress pants, you may need to adjust the measurement slightly. This is dependent on the size of the notch.
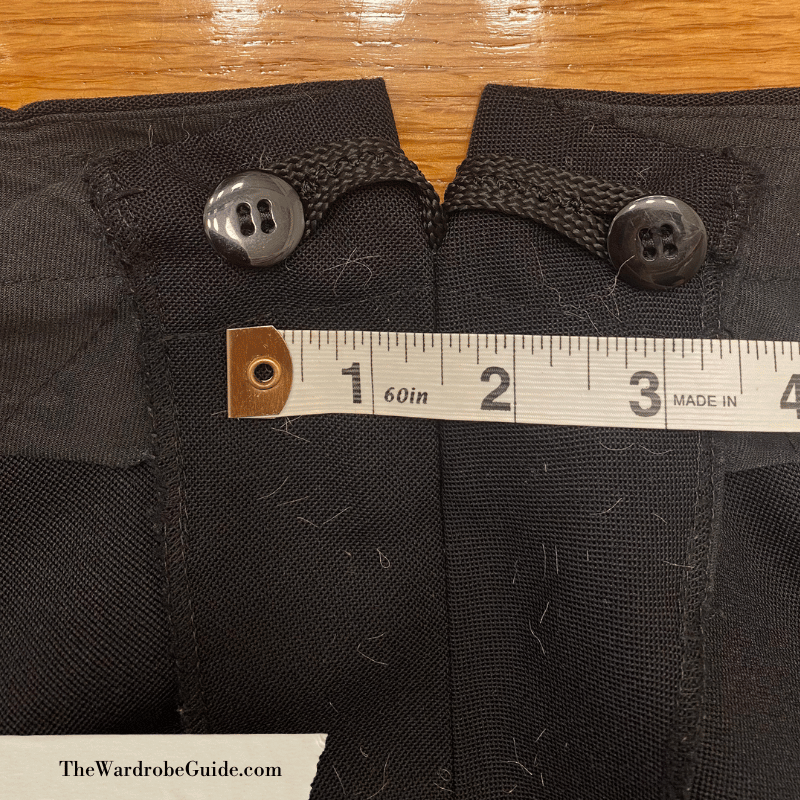
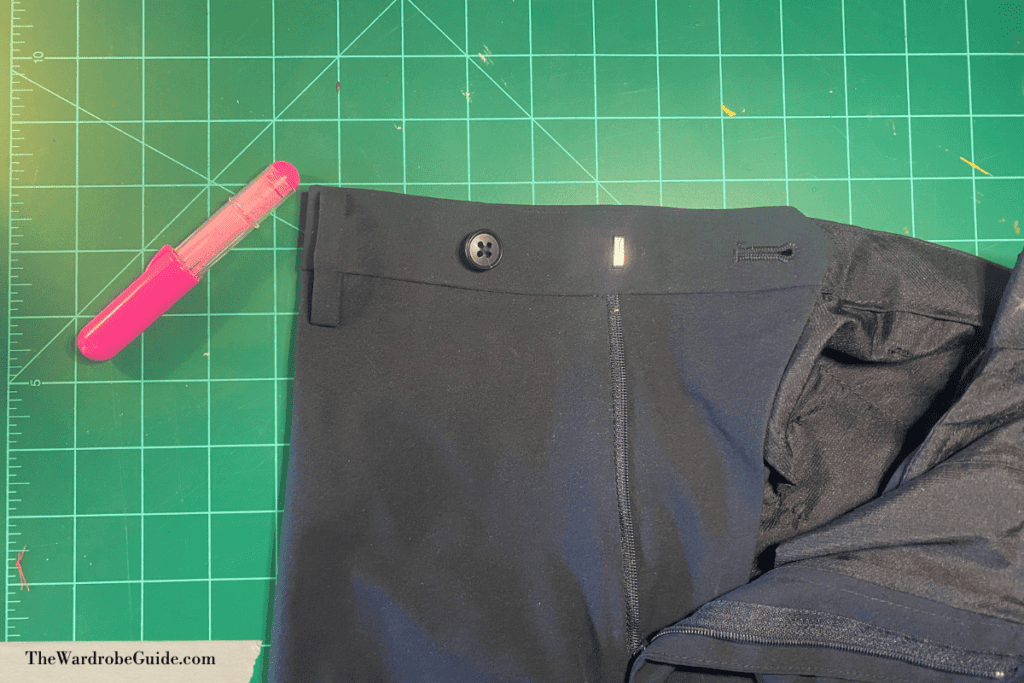
For front suspender buttons, you will find the halfway point of the sides to the front of the pants. To do this, fold the fly zipper over so it meets the pant’s side seam, then find the created fold. Put a mark on the fold, as this is now the point on which your buttons will be centered on.
Then, referring back to the 3” rule, measure out 1.5” on either side of the mark you just made. This is where you will place your buttons.
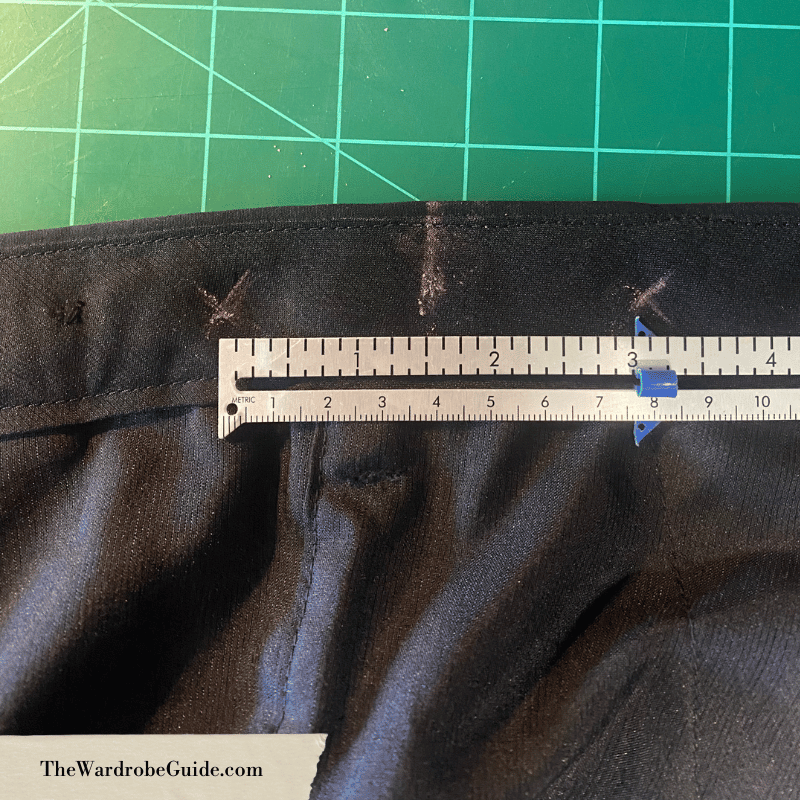
Repeat this process on the other side of the front of your pants. You now have the markings for all 6 of your suspender buttons marked on the pair of pants, ready for you to start stitching.
Stitching Your Suspender Buttons
Prep your needle: load it with thread that matches the color of the suspender button that you have chosen. Make sure to quad your thread.
When stitching your buttons, you can cross your thread through the buttonholes or stitch them with the thread running parallel. Because these buttons take quite a bit of wear and tear, you should complete around 3 rounds of stitching through each hole (with thread quadded) to make sure the suspender is secure.

PROTIP: Feel the waistband of a pair of dress pants. You can feel that there are multiple layers of fabric (and most likely interfacing) present. When stitching suspender buttons, you want to try to catch as many of these layers of fabric with your needle as possible, to really anchor the button onto the waistband.
If you only stitch the suspender button to the innermost fabric layer, the tension on the button from the suspenders might warp or rip at the waistband.

Finish off each button with a shank.
Repeat this process until all 6 suspender buttons are stitched onto your pants.


Load your suspenders onto the buttons. Project complete!
Now you know the ins and outs of applying the perfectly measured suspender buttons to a pair of men’s trousers! This is a very useful skill in the professional wardrobe world.
Sometimes, during the tech process, the stitchers might get really backed up with projects, and suspender buttons are a simple hand-stitching project that a dresser can complete at their own station to really help the team.
Do you have any tips or tricks for applying suspender buttons that we didn’t touch on here? Let us know in the comments!


