At the beginning of your wardrobe career, you will probably run into a show where you need to iron A LOT of men’s dress shirts FAST. The best way to approach this challenge is to have a system; a way that you iron every shirt using the same basic steps. In my experience, this is the most efficient way to iron a dress shirt.
How to Iron a Dress Shirt
Clothes really go through a lot of wear and tear during a performance. Especially men’s dress shirts; typically, these pieces get sweaty enough that you will be laundering them at least every other day, if not every day.
Why Do You Have to Be Efficient While Ironing a Dress Shirt?
When ironing for theatre, there is a good chance you have a lot of work that needs to be done in a short amount of time. As with a lot of things in theatre, “a lot” is subjective. If you are at a regional theatre, and you come in an hour before the actors, and you have to fold laundry, do presets, and do your own repairs, 5 shirts could be considered a lot. On Broadway, some shows, such as Hamilton or previously, Les Miserables, have full 4-hour-long daywork calls where that is the only thing somebody does all morning for a show. For a call like this, you might be responsible for ironing 30+ shirts in a four-hour shift.
How Long Should It Take to Iron a Dress Shirt?
Once you become familiar with this method of shirt ironing, you should be able to iron a basic shirt in less than 4 minutes.
Things to Consider While Ironing a Dress Shirt
Here are the main points to consider before heading into your first “Shirt Ironing Session.”
What Shirts Need to be Ironed?
When approaching a new shirt pressing call, this is the first question you need to ask. There are a lot of factors that go into answering this question. You might need to consider character (Is the character that wears this shirt put together?). You might also need to take into consideration the Designer’s preferences. There is also a little bit of “wardrobe knowledge” that you will develop throughout your career in regard to this question. Sometimes, there are certain shirts that might just want a good steam.
For now, at the beginning of your career, you should talk through your perceived shirt ironing call with your wardrobe supervisor (or with your costume designer, if you don’t have a supervisor!)
How Is This Shirt Worn?
If you have a wardrobe supervisor, they will most likely fill you in on these specifics. Can the sleeves have creases in them? Is the shirt worn with the sleeves rolled (in that case, maybe the cuffs don’t need buttoned)? Is the shirt fully visible on stage? Or is it under a vest and jacket the whole time it is worn? These are just a couple of the questions that would have an effect on your shirt ironing call.
Protips When Ironing a Shirt
- Make sure your iron is full of water before you start ironing!
- Pay attention to the fabric content of the shirt you are ironing (if it is a store-bought shirt, this information should be on a tag inside the garment). Some fabrics can’t have water/steam on them!
- If you are ironing shirts made of different fabrics, take this into consideration when coming up with your ironing order. If you have both a silk shirt and a Linen shirt to iron in your call, turn the iron to the cooler “silk” setting and finish the silk shirt. Then, turn the setting higher to iron the Linen Shirt.
- Some specialty materials can’t have an iron or steamer on them at all. Heat or steam could melt the fabric or ruin your iron. If you notice a material that is not a typical fabric such as cotton or linen, check with your wardrobe supervisor before touching it with heat.
Materials Needed for a Dress Shirt Ironing Call
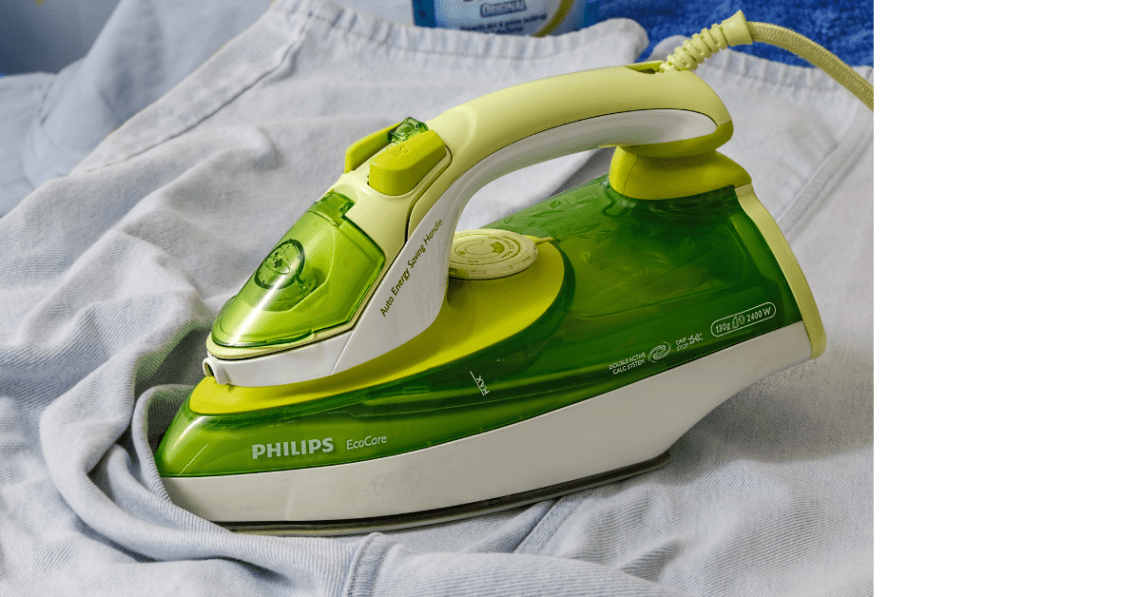
- A decent iron
- A spray bottle of water if your iron does not have a steam function
- A full-sized ironing board
- A sleeve board
- Shirt Hanger for finished shirts.
- If Needed: Spray Starch
- If Needed: Pressing Cloth
Step By Step Guide How to Efficiently Ironing a Dress Shirt
1) Check That the shirt is ready for ironing
Feel the shirt, especially the collar and cuffs, to make sure they aren’t still wet from being washed.
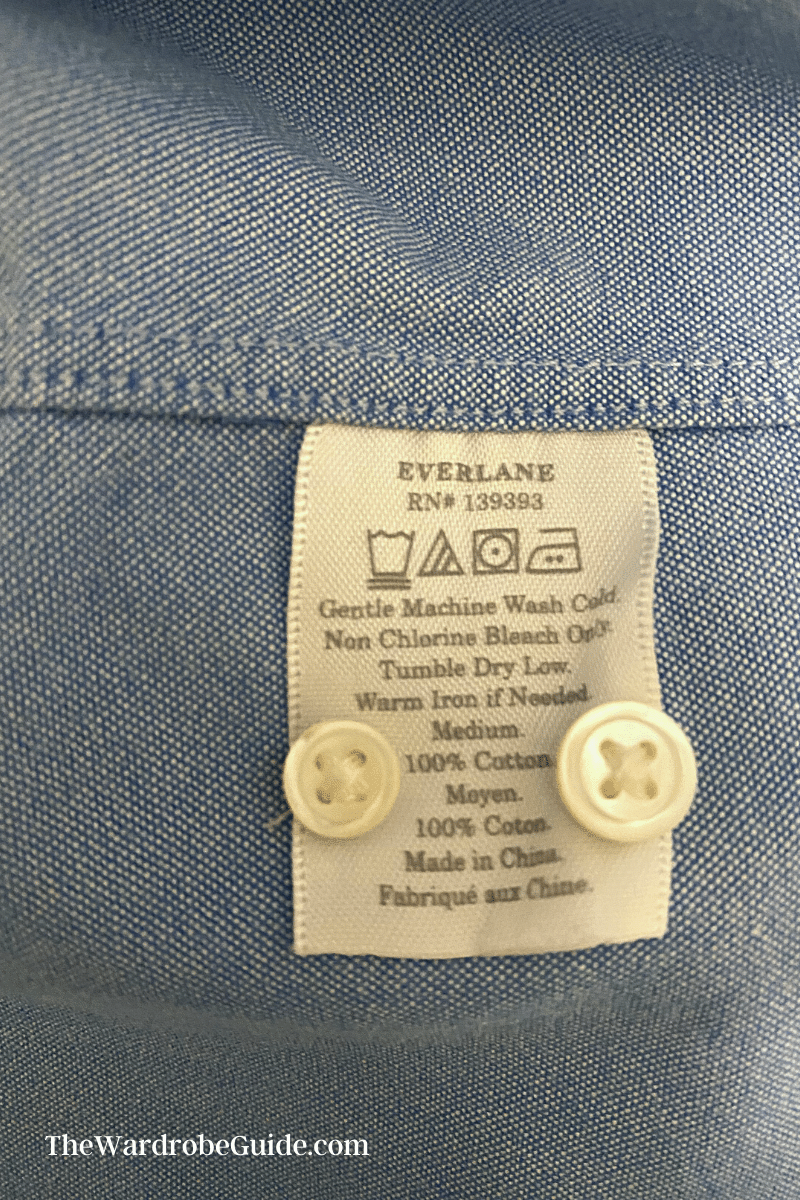
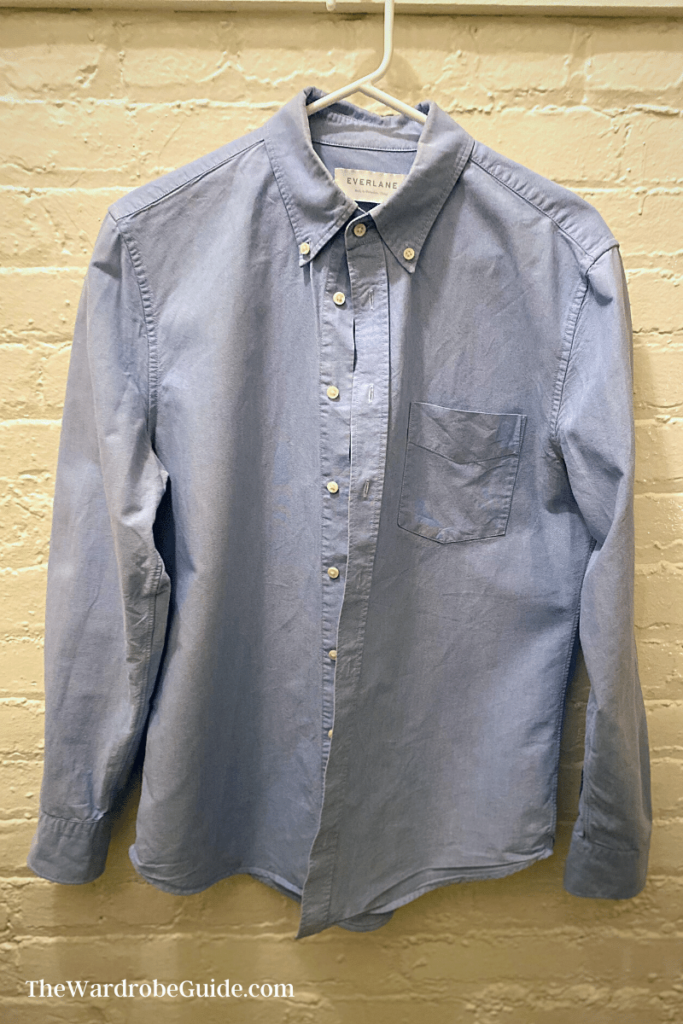
2) Check fabric content/ care instructions for the shirt
Some of the best advice I can give if you are just starting out is to remember that most purchased items will have a tag sewn into their seams somewhere that will tell you all the information you might need to know about caring for that specific item of clothing. This example also has two spare buttons the manufacturer added to the tag.
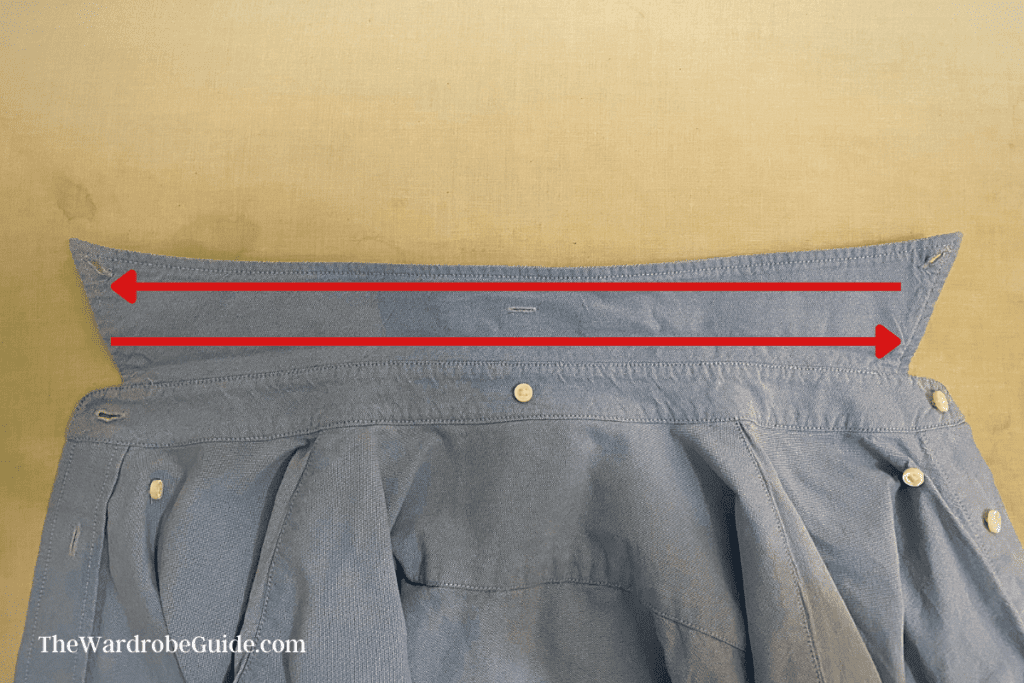
3) The Collar
- Press the collar up first, to press all of the wrinkles out of the entire front and back of the collar. Make sure to iron out all the way to the points of the collar.
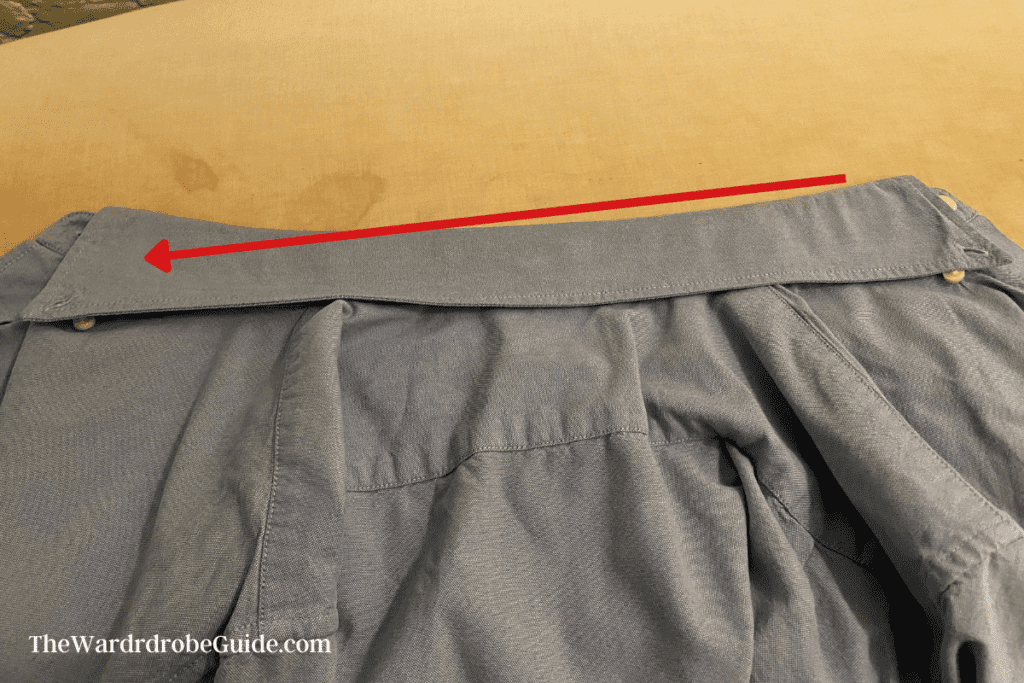
- Press the fold of the collar down. Give this step a very good press right to left, with a decent amount of steam. This will make the collar sit really nicely around the neck.
- Add back in the collar stays, if they are needed.
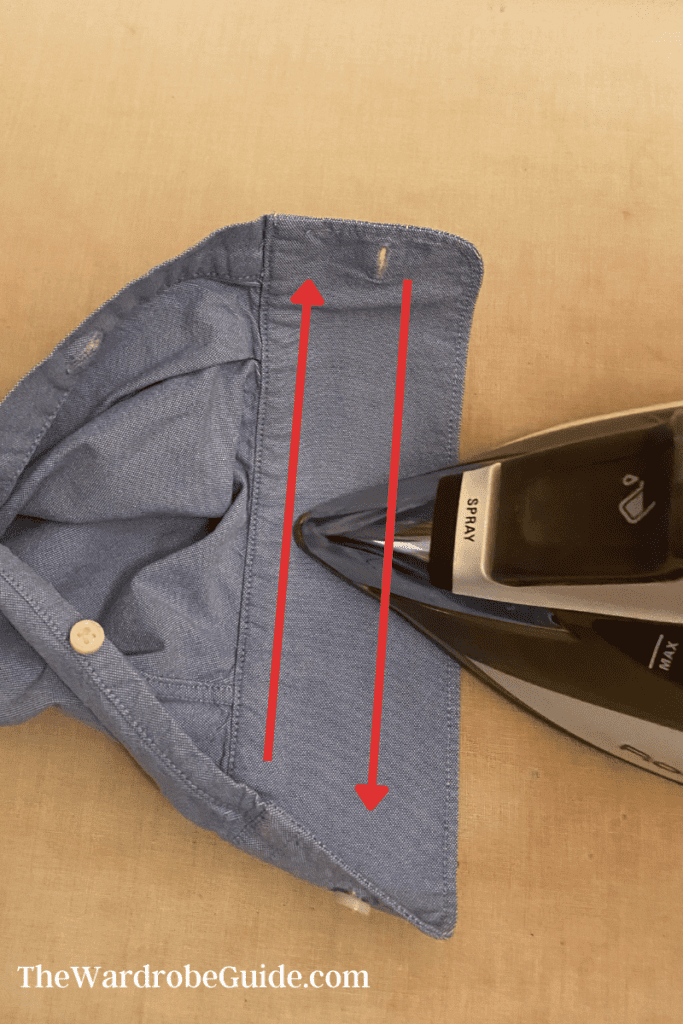
4) The First Sleeve
- First, iron the cuff of the first sleeve. Run the iron over the cuffs in an up-and-down motion, making sure to get the whole width of the cuff. If the buttons on the cuff need fastened, do that now while they are laid out on the board. PROTIP: This is a good time to lay eyes on the cuff closures, to make sure they are present and in working order.
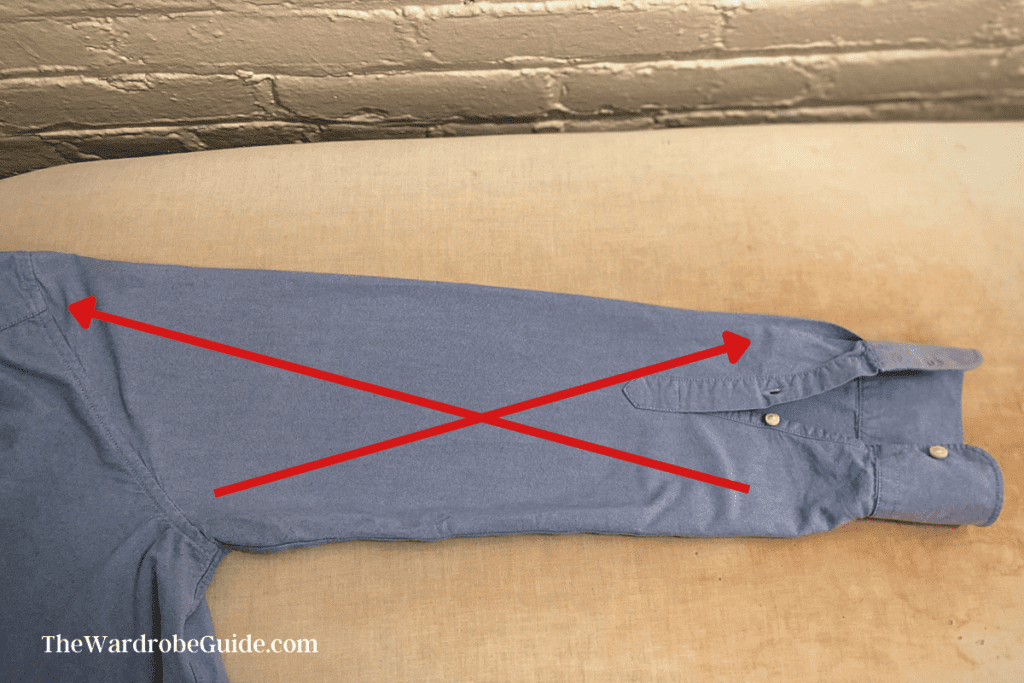
- Move to the actual sleeve attached to that cuff. Lay the sleeve out carefully, so half of the sleeve is facing up and the other half is facing toward the board. you want to make sure the sleeve is laying flat with no wrinkles. If laying correctly, the bottom of the sleeve that you are looking at should be the seam of the sleeve, and the top should be the top of the sleeve. I find the best way to iron a sleeve like this is to work the iron back and forth from cuff to shoulder. Move the iron carefully, as to not make any wrinkles on the underside of the sleeve. PROTIP: If you don’t want hard creases in the sleeve, don’t press too hard close to the edge of the sleeve.
5) The Second Sleeve
Repeat the steps you just performed on the first shirt sleeve!
5.5) Optional: Remove the Crease
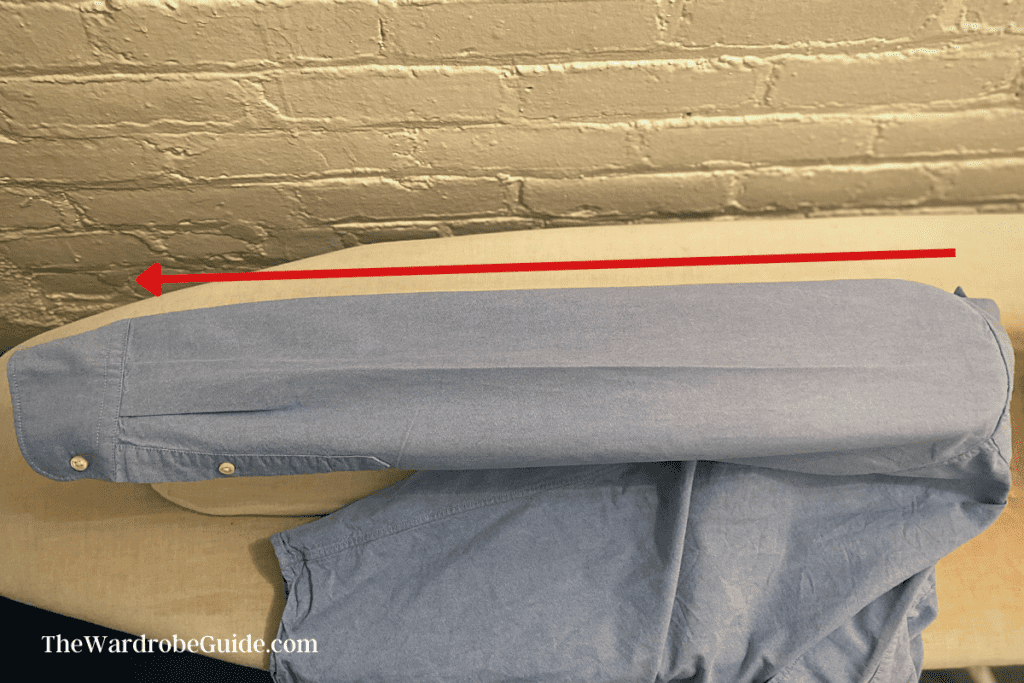
Now you have two cleanly pressed shirt sleeves! If the shirt you are currently ironing does not need creases in the sleeves, it’s time to press them out! First, take out your sleeve board. Then pull each of your sleeves over the sleeve board, and run your iron down (from shoulder to cuff) whatever crease is there.
6) The Shirt Front
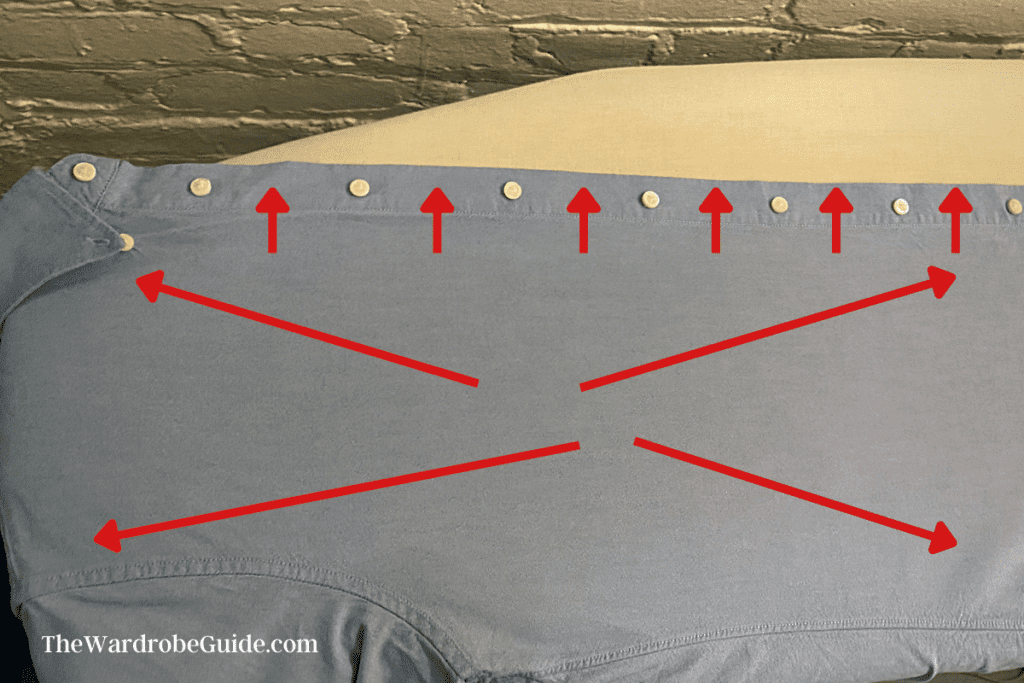
This part is pretty simple. Pull one-half of the front of the shirt over the board. Really make sure you are utilizing the shape of the ironing board to be able to reach into the shoulder of your shirt and get it to lay flat. On the front of the shirt, I typically iron out from the middle, to help everything lay the flattest. PROTIP: While ironing the front of your shirt, run your finger over the center front buttons (or snaps) to make sure everything is in working order!
7) The Shirt Back
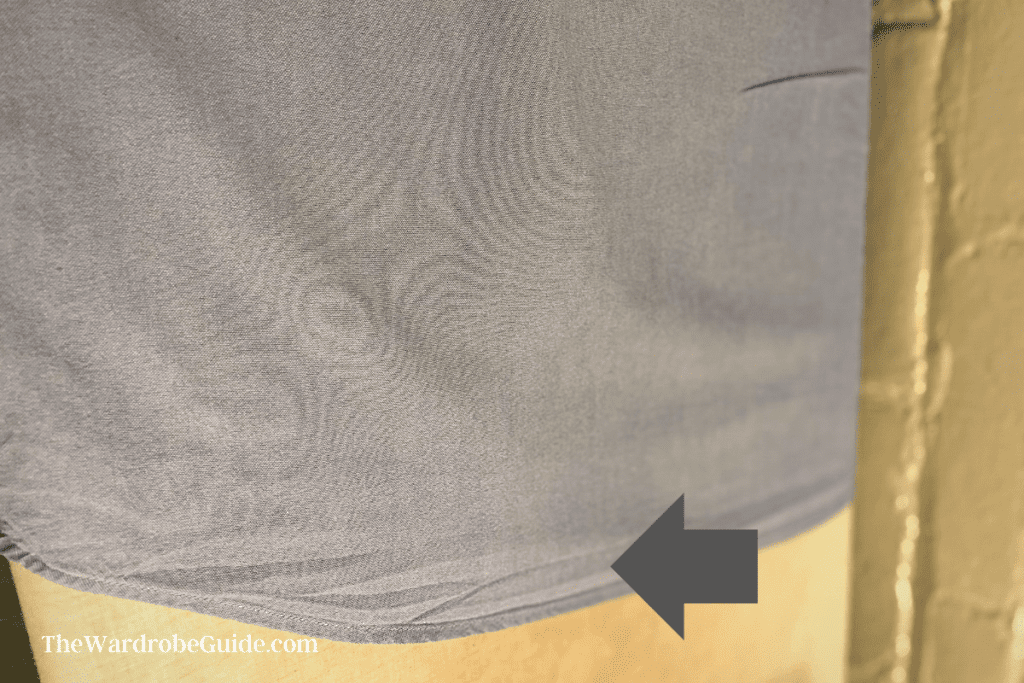
Even though the back is one big area, you will want to split it down the center into two halves for ironing. The back of the shirt is not unlike the front. Iron out from the center, and make sure you use the shape of the board to get up into the yoke of the shirt. PROTIP: Make sure you hit the side seams/ into the armpit of the shirt during this step!
8) You are Done!
Hang your freshly ironed shirt on a hanger. Fasten the top button so it doesn’t fall off and ruin your hard work. Move on to the next one! Happy ironing!
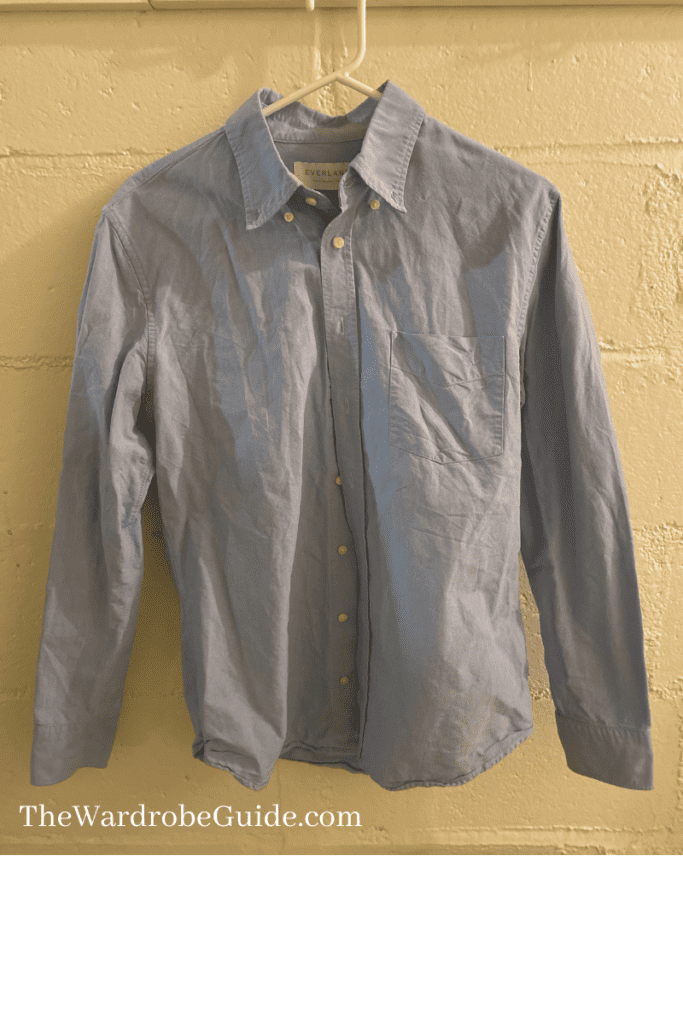
Before
After
There you have it! Everything you need to know to iron a basic shirt. Was there any tip that you felt was particularly helpful? Are there any tips that you know for more efficient ironing? Let us know in the comments.