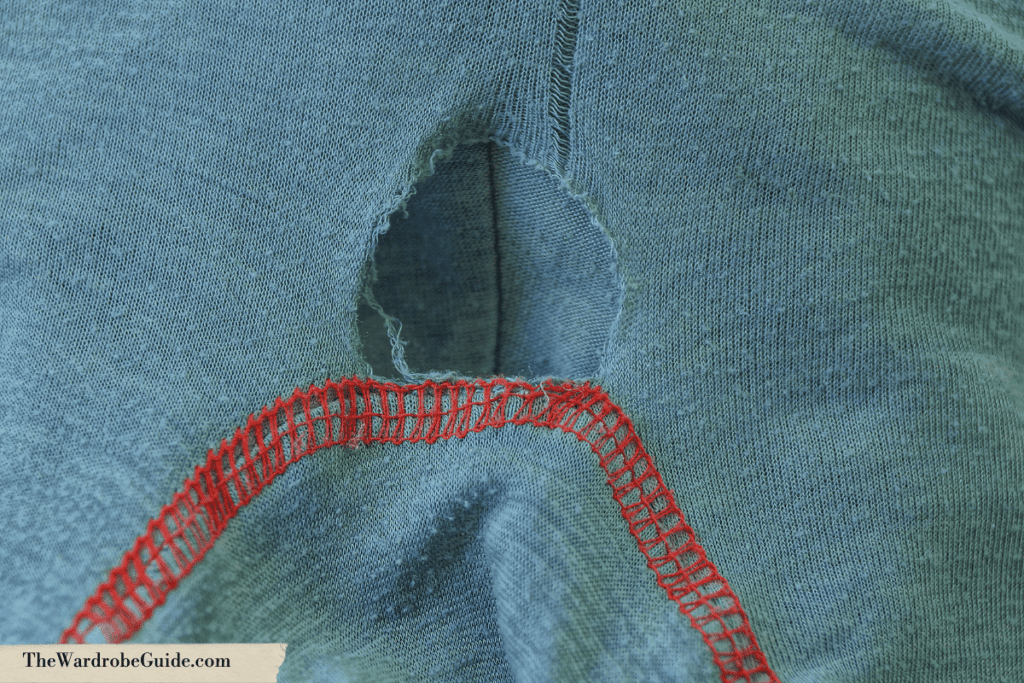
When working on a contemporary show, odds are you might have a couple of costume t-shirts. When tshirts are used in wardrobe, you might find yourself having to mend or repair these tshirts frequently. T-shirts can be tricky onstage for a couple of reasons. Typically, t-shirts aren’t worn with an undershirt. This means more times than not, these costume pieces will be worn right against the actor’s skin.
In AEA (Actor’s Equity Association) rules, if a costume piece is worn as a “skin” (the first layer of clothing an actor is wearing against their body), the piece has to be washed after every show.)Because of this, if there is a t-shirt in your show, you probably have 3 “doubles” of that t-shirt, so you can give a fresh one for each performance.)
This also means the t-shirts used in live performances undergo a large amount of washing. This can do numbers on a shirt– especially one that wasn’t made with the highest quality materials to begin with. (Most costume t-shirts are purchased from everyday stores like Zara or Amazon, and aren’t built by costume houses). As the fabric starts to become compromised with multiple washes, abuse during quick changes, and being broken down by wear and sweat, you might find small holes and snags appearing in certain shirts.
The good news is that these holes are fixable! We are going to show you how here with a method called “Darning”
This post may contain affiliate links. We only recommend products we have tried and tested ourselves. If you use these links to purchase something, we may earn a small commission at no additional cost to you. These links help us cover the running costs of The Wardrobe Guide! Read our full disclaimer.
What is “Darning”?
You might have heard about darning when it comes to fixing a hole in a sock or a sweater. But more generally, darning is the act of mending a hole in knit fabric. Surprisingly enough, t-shirts and sweatshirts are also knits! That is what gives them their stretch. Their knit is just super small compared to the knit in socks or sweaters.
Common T-Shirt Repair Mistakes
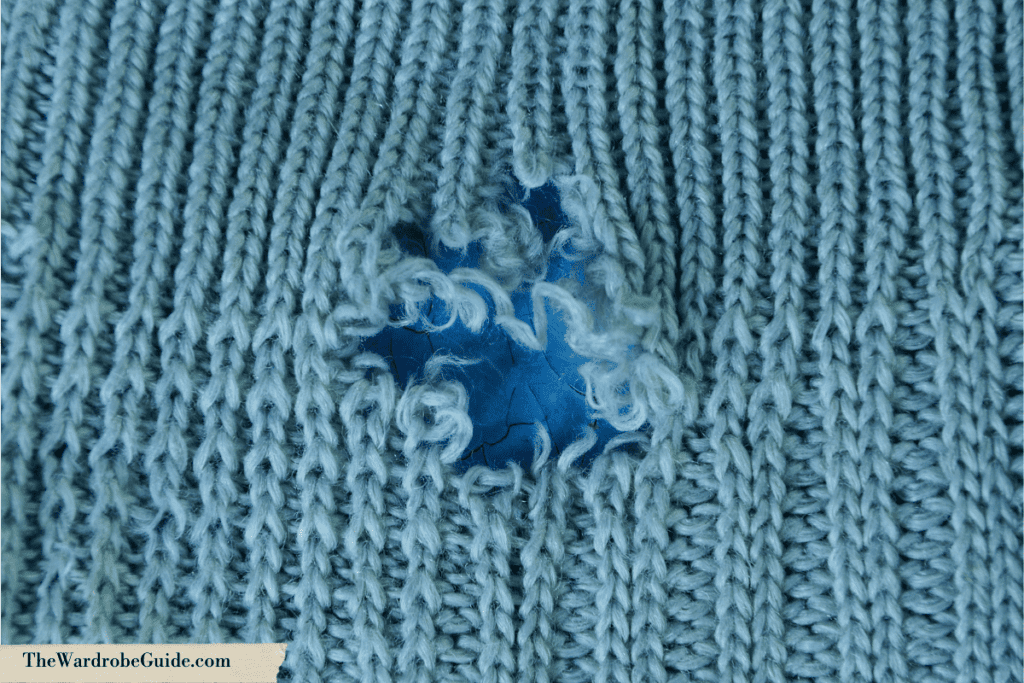
The last thing you want to do when you are trying to repair a knit fabric is to add more tension to the weakened area in the fabric. Many people’s first instinct when repairing a T-shirt is to stitch the hole closed, creating a seam. While this might work with a sturdier fabric, with knit, it will simply cause the fabric more stress, which means you will quickly end up with more holes around your “repair”.
When a hole is found in a t-shirt, you want to allow the fabric to sit just how it wants to with the new hole, and work from there to reinforce the fabric. This is why it is always best to find holes in knit as early as possible so you can stop them before they spread.
Tutorial: How to Repair a T-shirt With Darning
Tools:
A Darning Egg
Backing Fabric with Stretch
Thread that matches your fabric
Step-By-Step Guide to Repair a T-Shirt
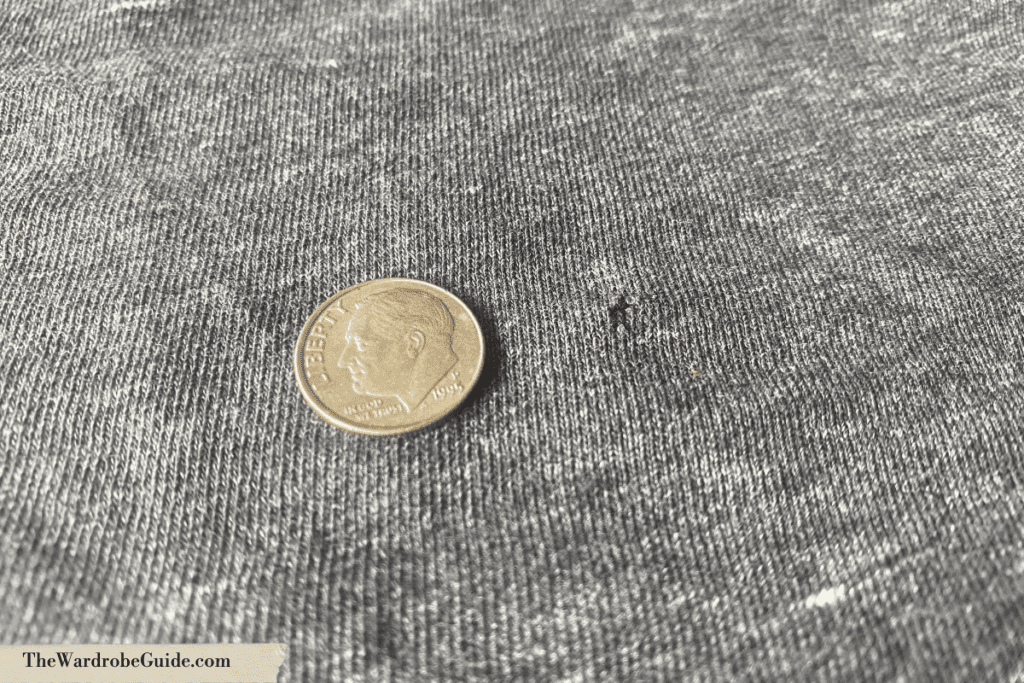
1) Find Fabric to Reinforce the Hole
This fabric will not be seen from the outside of your repair, so the stakes aren’t too high regarding what you pick. Mainly, when you are repairing a garment that has stretch, you want your patch to also have a bit of stretch, or it could compromise your repair.
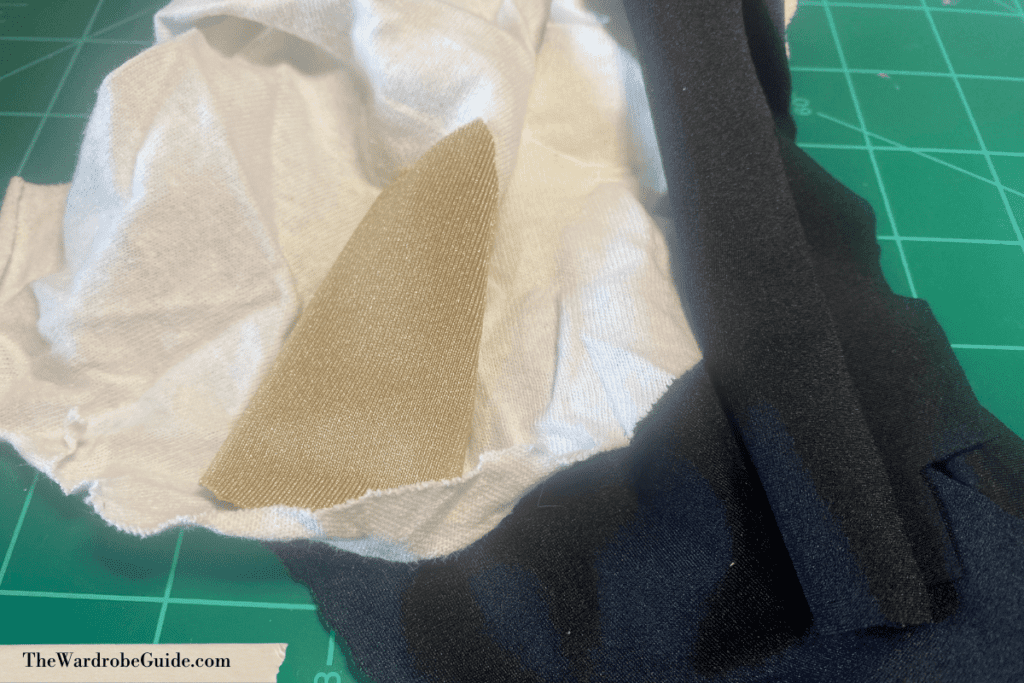
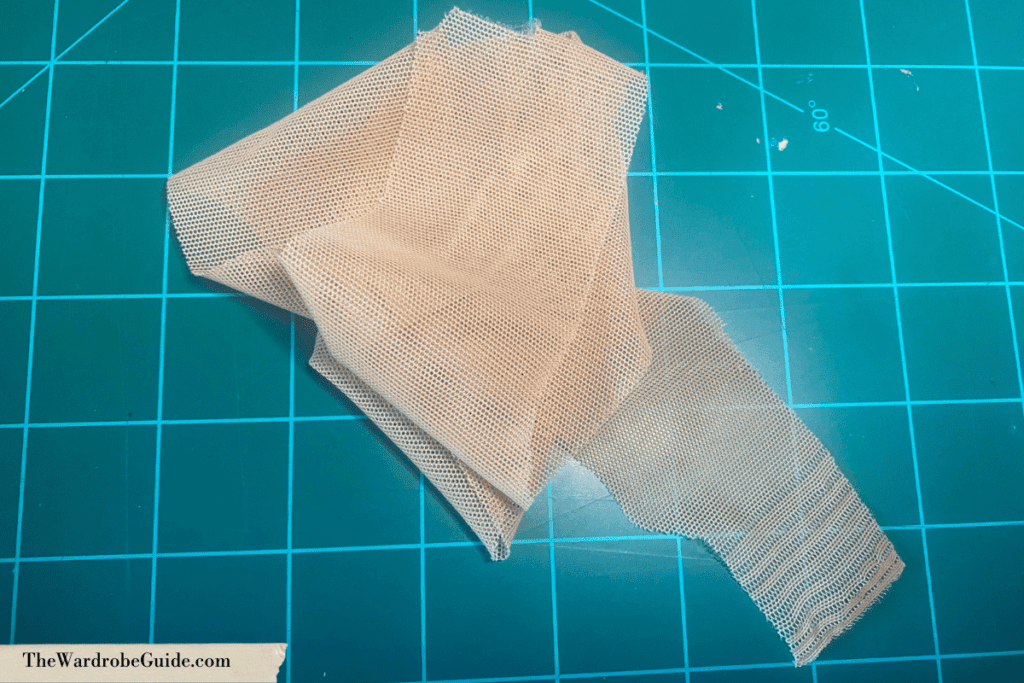
You might have scrap fabric that matches the shirt you are patching. You might have some power net in stock (this is typically my preference). If you have limited materials accessible, you could even use a small piece from an old white t-shirt.
2) Back the Repair
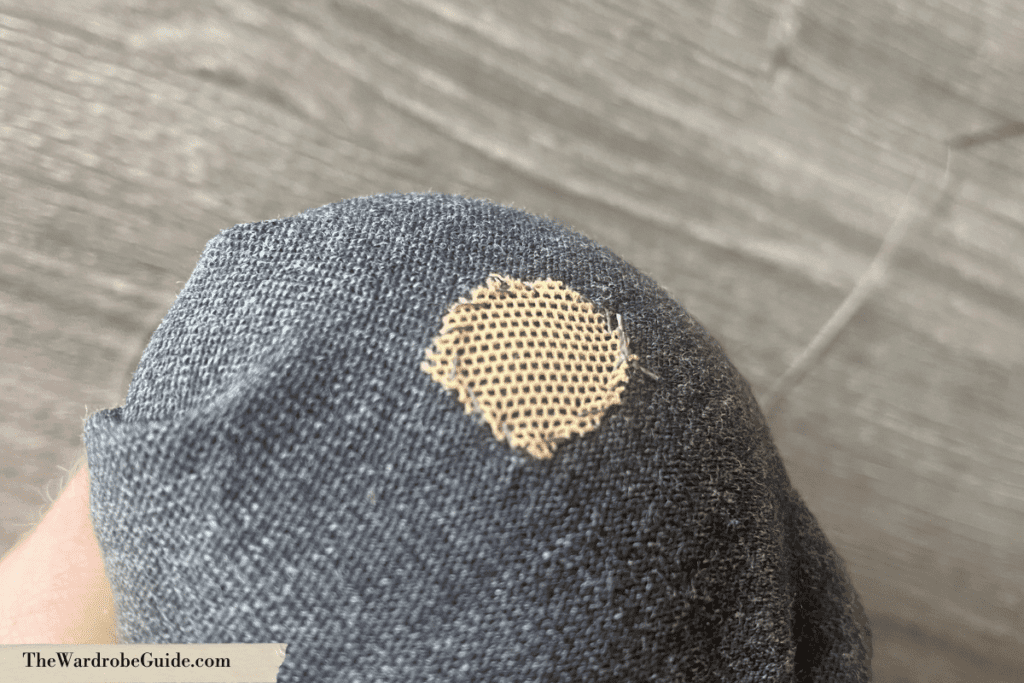
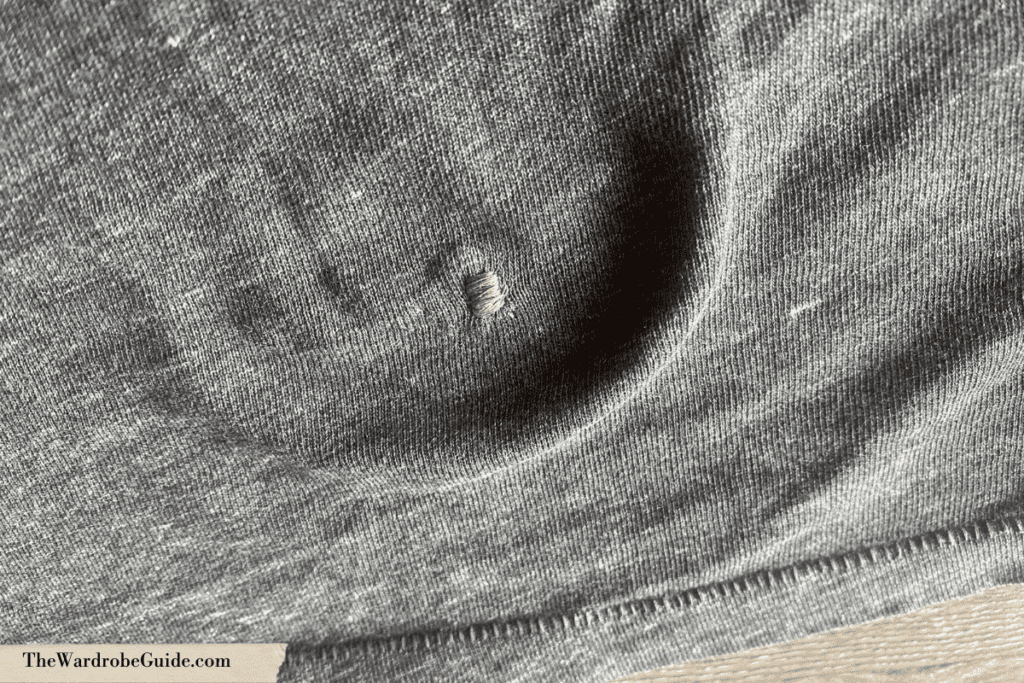
Lightly stretch the repair inside out over the darning egg. Using small stitches, whip stitch the backing fabric to your t-shirt. To ensure that your stitches are as invisible as possible from the outside, try your hardest to only pick up one or two fibers of the costume with each stitch.
3) Weaving Stitches
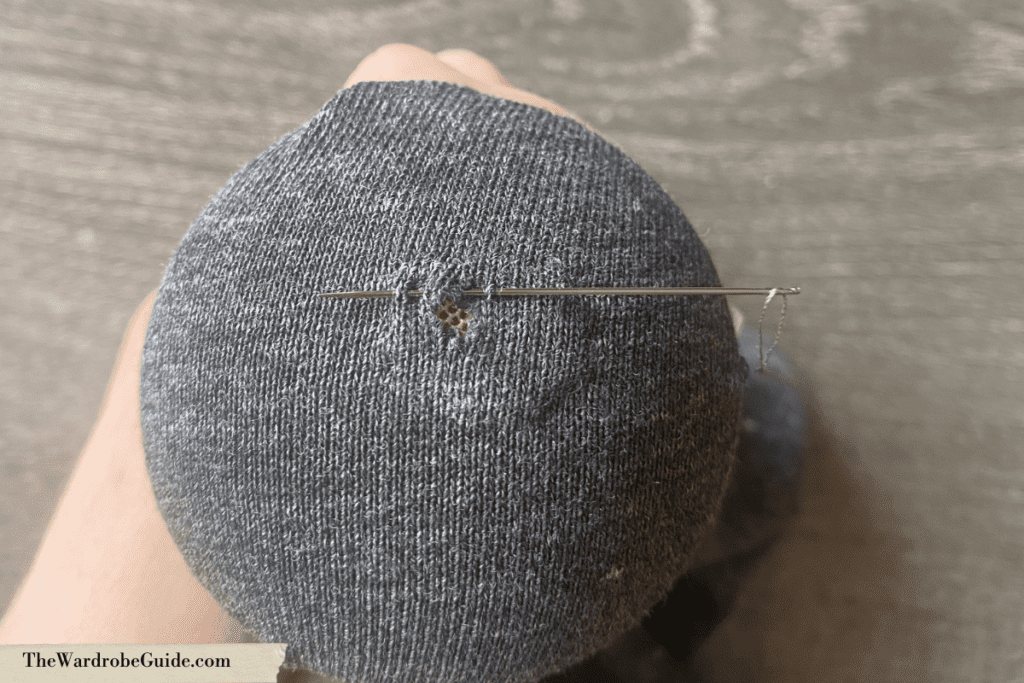
Now flip the costume right side out and hold the repair over your darning egg. With your needle and thread, weave back and forth across the hole, into your backing fabric. Be careful not to pull your thread too hard here, or you will start to see puckering. When you have finished your stitch lines going back and forth, complete a set of stitches weaving across the hole going up and down across the repair.
4) Reinforce Stitching
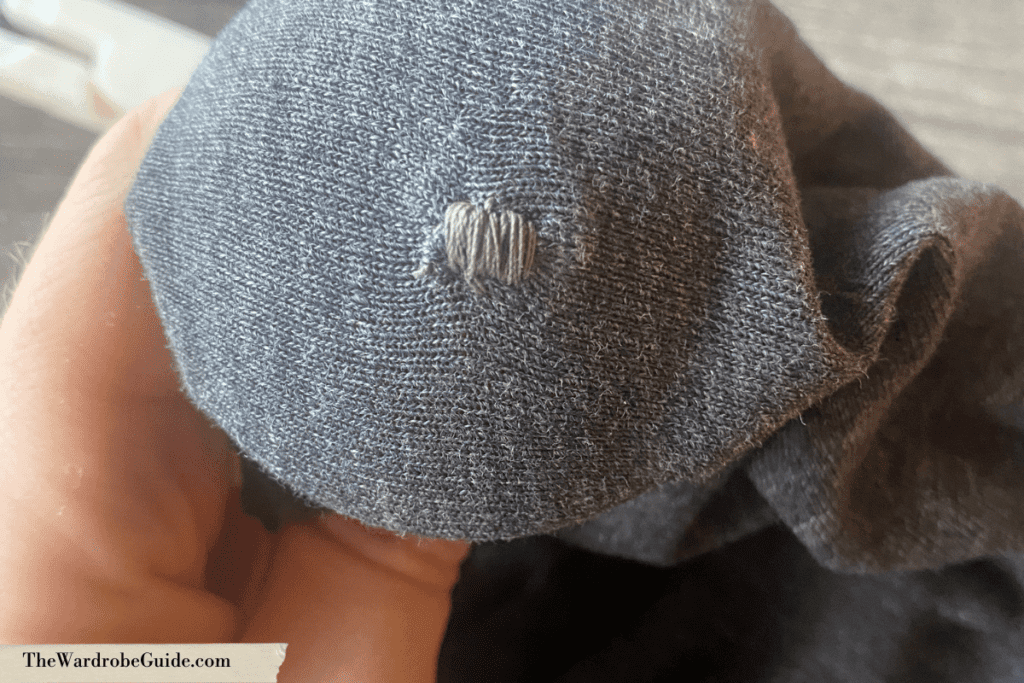
Finally, reinforce and cover the repair by stitching across the repair with close stitching. This will go far in hiding the repair if you can find a thread that is a perfect match to your fabric. You still want to make sure the fabric is lightly stretched over your darning egg for this step. Make sure your stitches aren’t becoming too tight that they strain the fabric.
Larger T-shirt Repairs
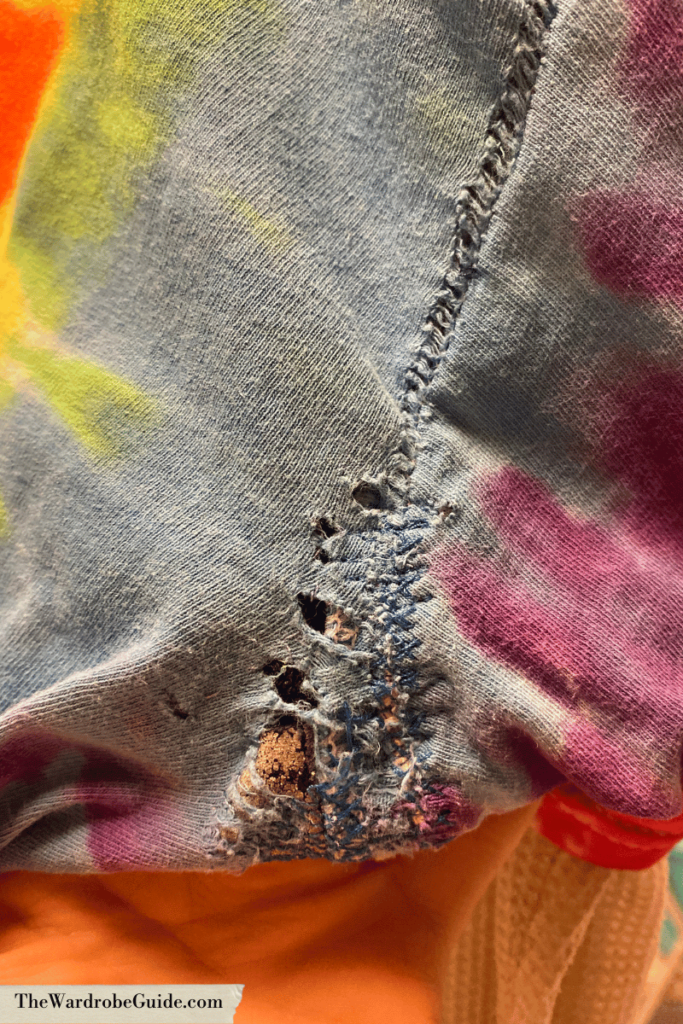
Every so often you might encounter a t-shirt with a large rip in the fabric, or a t-shirt that has had to be repaired many times for one reason or another. On Broadway, the way we repair something like this is to back the repair as you would for a smaller repair. For a large repair, it’s helpful to have spare fabric from that exact shirt. (I. E. It was hemmed during tech, and you saved what was cut off– ALWAYS SAVE WHAT IT CUT OFF!) Patch your repair from behind using the fabric you have. (If you don’t have a perfect match, any stretch that you do have will do.)
However, with a large repair, use your sewing machine. Then flip the shirt right side out and zig-zag stitch over all the holes to reinforce your work. This method can look pretty gnarly up close, but remember that most things in theatre will be viewed from 50 feet away on a moving body, so it will be less obvious to an audience member.
When to Retire a T-shirt and Buy New
Of course, there is always a point where you have repaired a T-shirt so many times that it is falling apart more and more with each wash. If you find that you are having to re-repair the same areas of a shirt every single day, it is probably time to retire the shirt and rebuy a new one. It also may be important to think through why repairs keep appearing in a certain spot. Is the costume stretching intensely because it is the wrong size? Is it getting caught on something on the set? By doing some detective work, you may be able to save the show some money by fixing the cause. However, maybe the shirt is simply made of cheap material, and therefore the budget has to swallow the cost of multiple replacements (depending on the length of the run)
There you have it– when and how to repair a basic t-shirt. When you become experienced at this type of repair, you can even perform it as a dayworker. Are there any tips or tricks you have regarding the mending or repairing of t-shirts that we didn’t mention here? Anything you found particularly helpful? Let us know in the comments below or Contact us!


